Let’s navigate to the “Auto Tags” tab under Workspace Settings. This is where you’ll be able to create tags to filter your company documents. As default, your workspace will show four auto tags: CEO, Communication Type, Company, and Executives. 
Auto Tags
If a CEO or an executive goes by multiple names in your documents, you are able to create an alias by clicking the “Aliases” button. Here, you can select who to group under one title. Click “Apply Normalization” to apply your changes.
Aliasing

Building an Alias

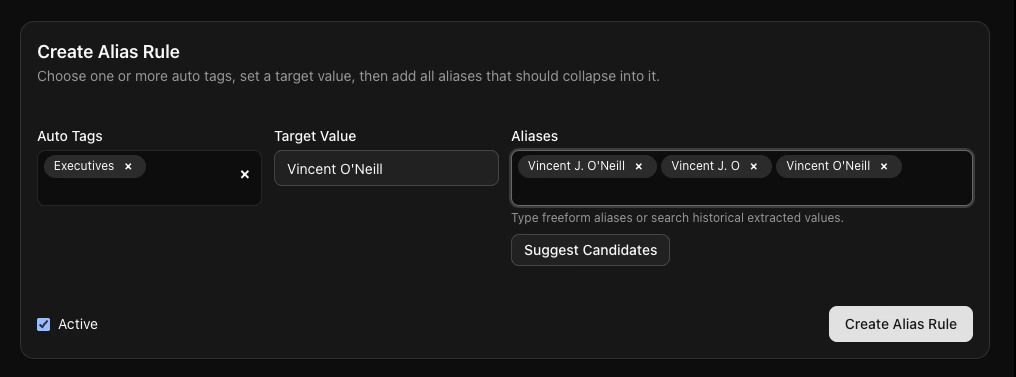
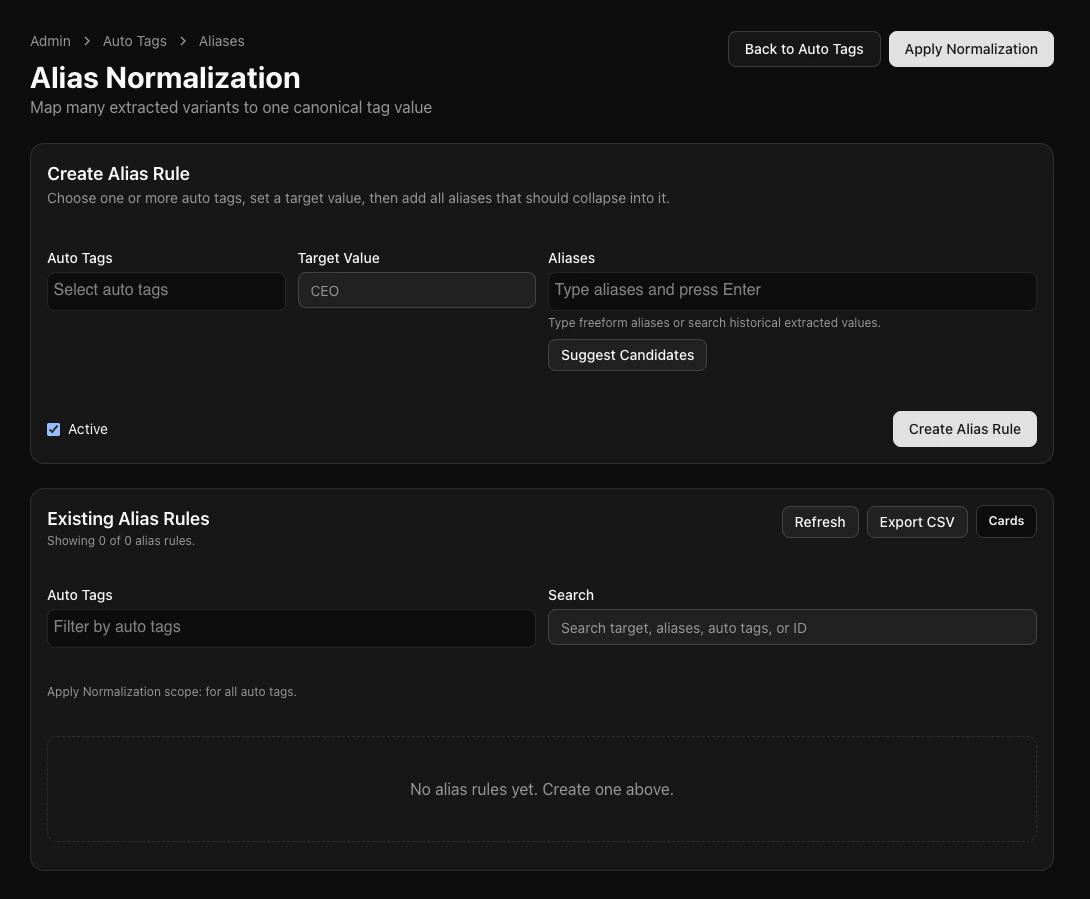
Under the Auto Tags section, you will select from a dropdown that best categorizes your auto tag. Your Target Value is the final name returned when we come across your aliases. The Aliases section is where you input all of the aliases for your Target Value.
Alias Example